Settings
Setting up the admin user
When you first run the Storyteller backend, the web interface will prompt you to create an admin user. This user will be saved in the database and given all permissions in the system.
Logging In
After creating the admin user, you will be prompted to sign in with your new username (or email address) and password.
Welcome to Storyteller!
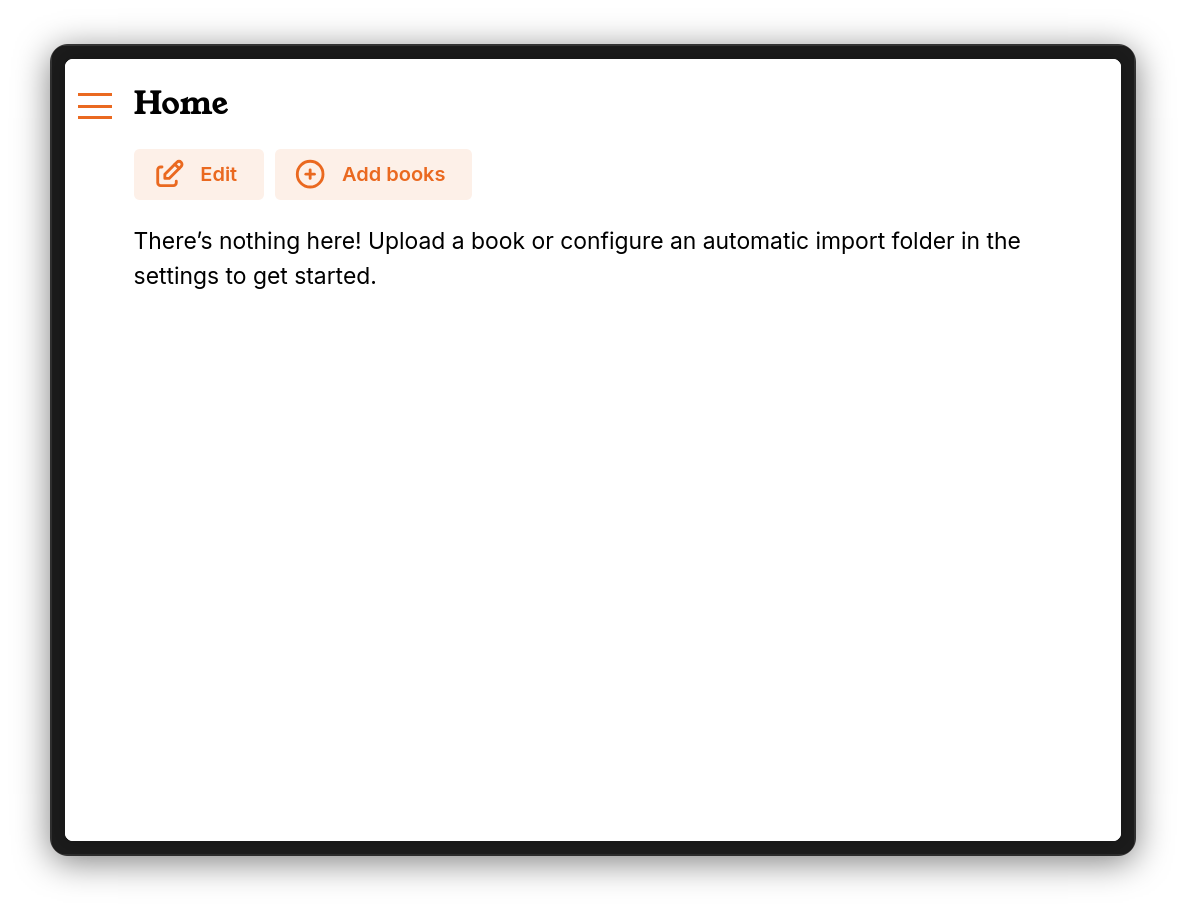
Congrats, you're now a server admin! Luckily, the Storyteller backend is pretty straightforward to administer. This is what your empty library looks like:
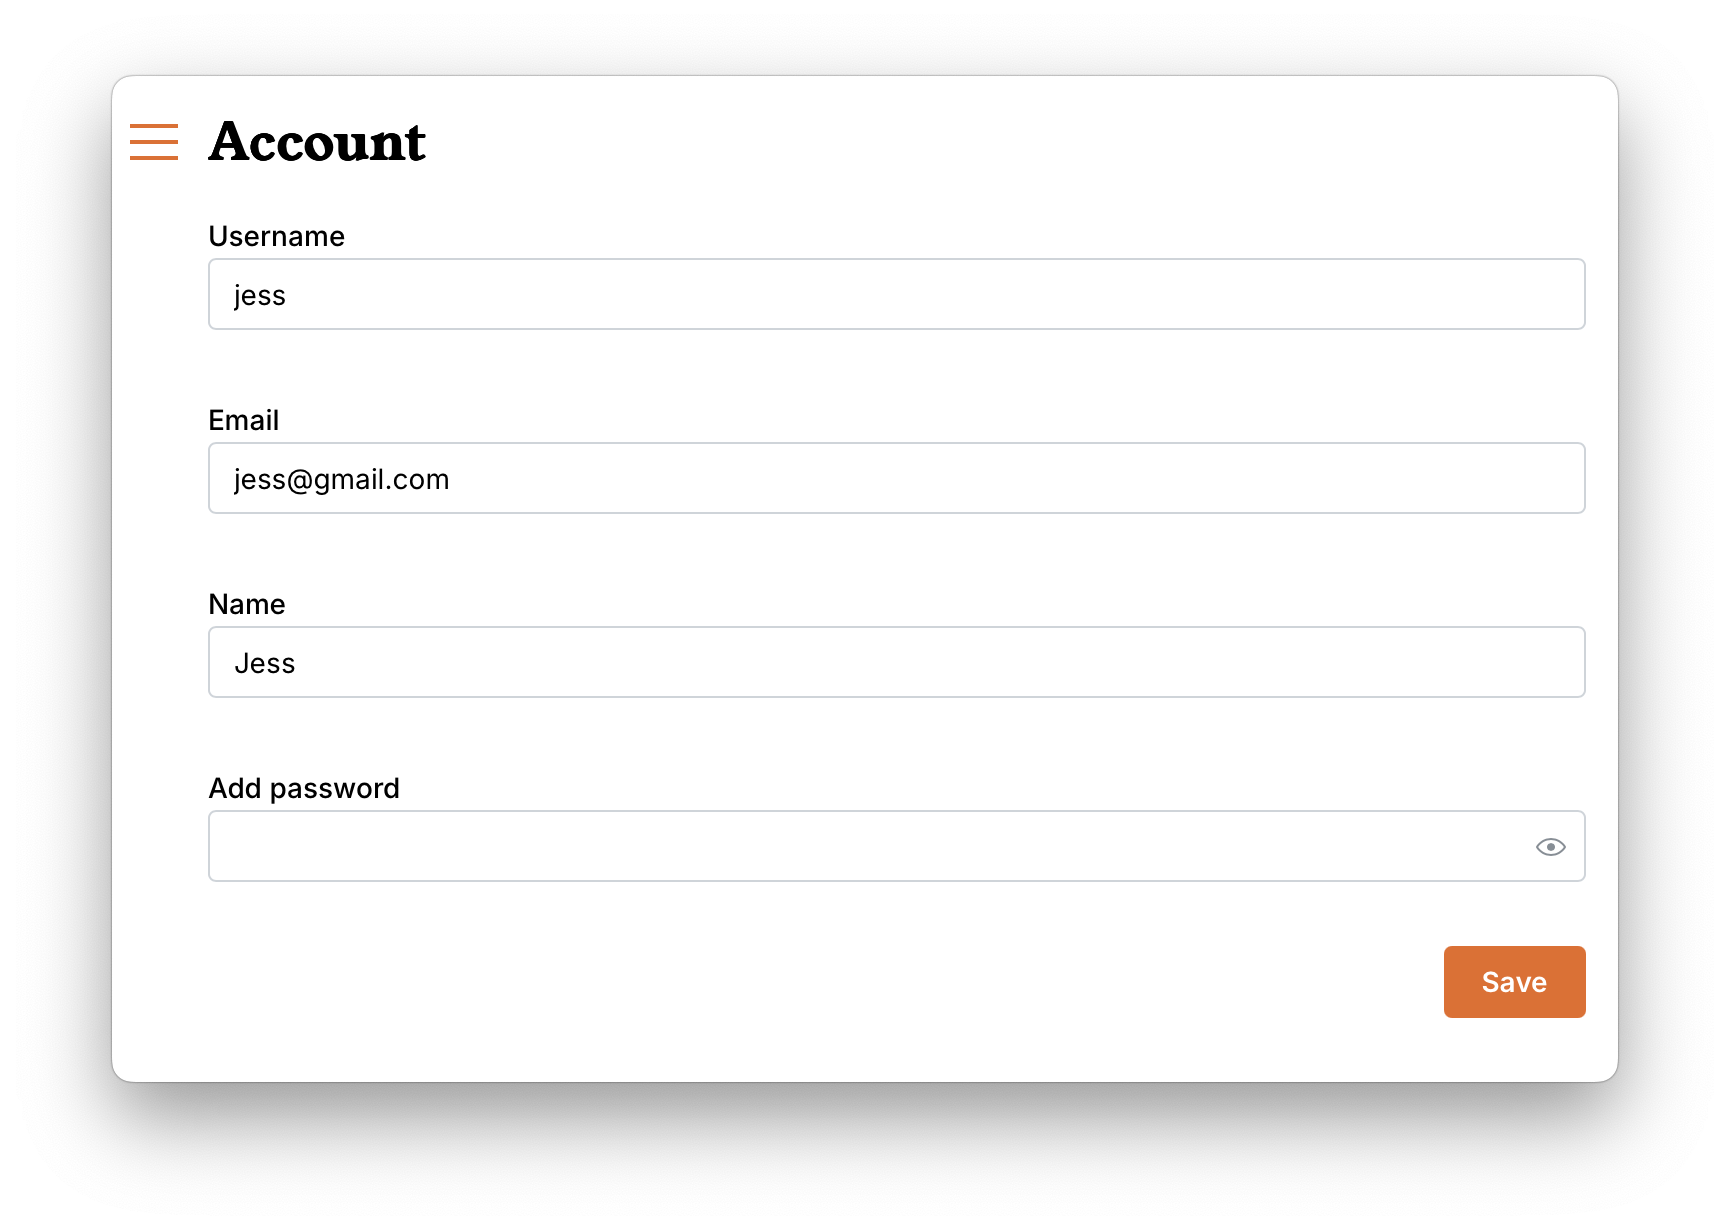
If you ever need to change any of your account settings, they are easy to access in your account.
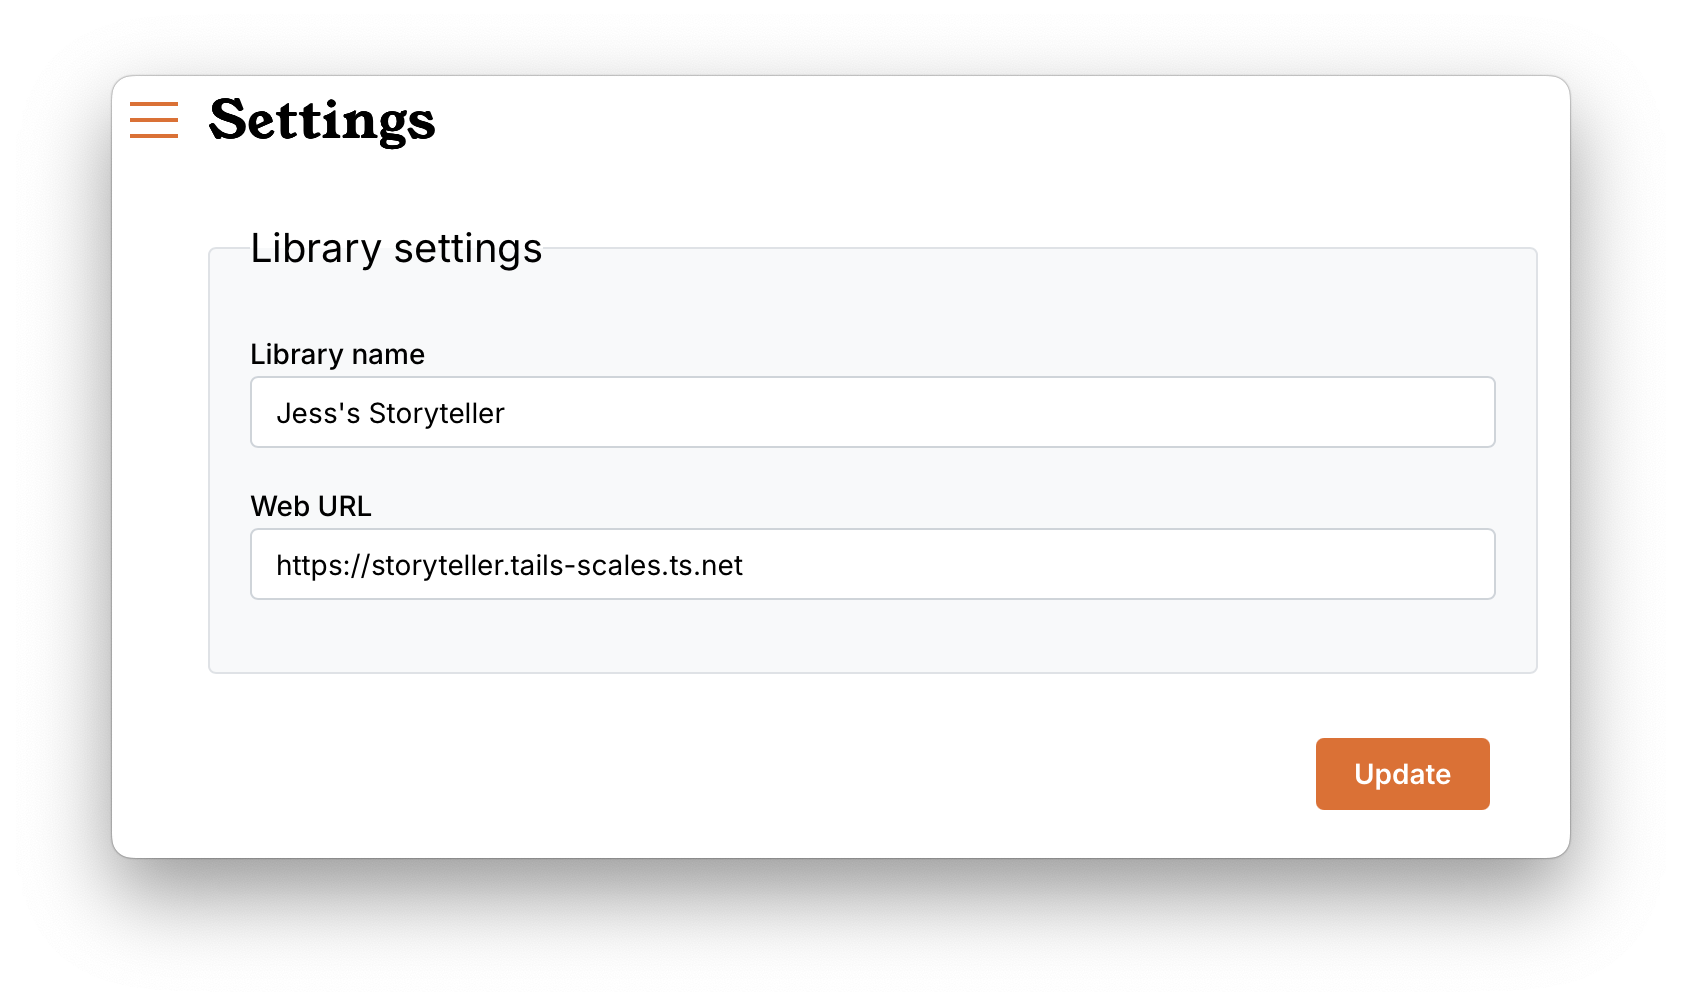
The first thing you may want to do with your new server is to go to the settings page and set some defaults.
Library Settings
You do not need to add setting here unless you are planning to share your library with friends and family, but it is still important to understand where to reach your server. Putting the correct web URL here will mean you always have a place to go and quickly grab it.
As a default, your Storyteller library will be available to you
- on the server in any web browser at http://localhost:8001
- on any device (web browser and apps) on your local area network at the local IP address for the server such as http://192.168.1.xxx:8001
If you want to access your server remotely, you must either
- open port 8001 on your network (not recommended)
- use a reverse-proxy (if you do not want to expose a port on the open internet)
- follow the Tailscale community guide to use your Tailscale URL, which will be something like https://storyteller.tail-scale.ts.net/
Putting the full URL — including the proper URL scheme (http:// or https://) — is best practice and may save you some confusion down the road.
 There are plans to have the
ability to be connected to multiple Storyteller libraries at the same time (à la
Plex), so give your library a distinctive name.
There are plans to have the
ability to be connected to multiple Storyteller libraries at the same time (à la
Plex), so give your library a distinctive name.
Automatic Import
This section is out of date and will be updated soon. Please see this blogpost for the latest information: v2.14.0: A big update to file management
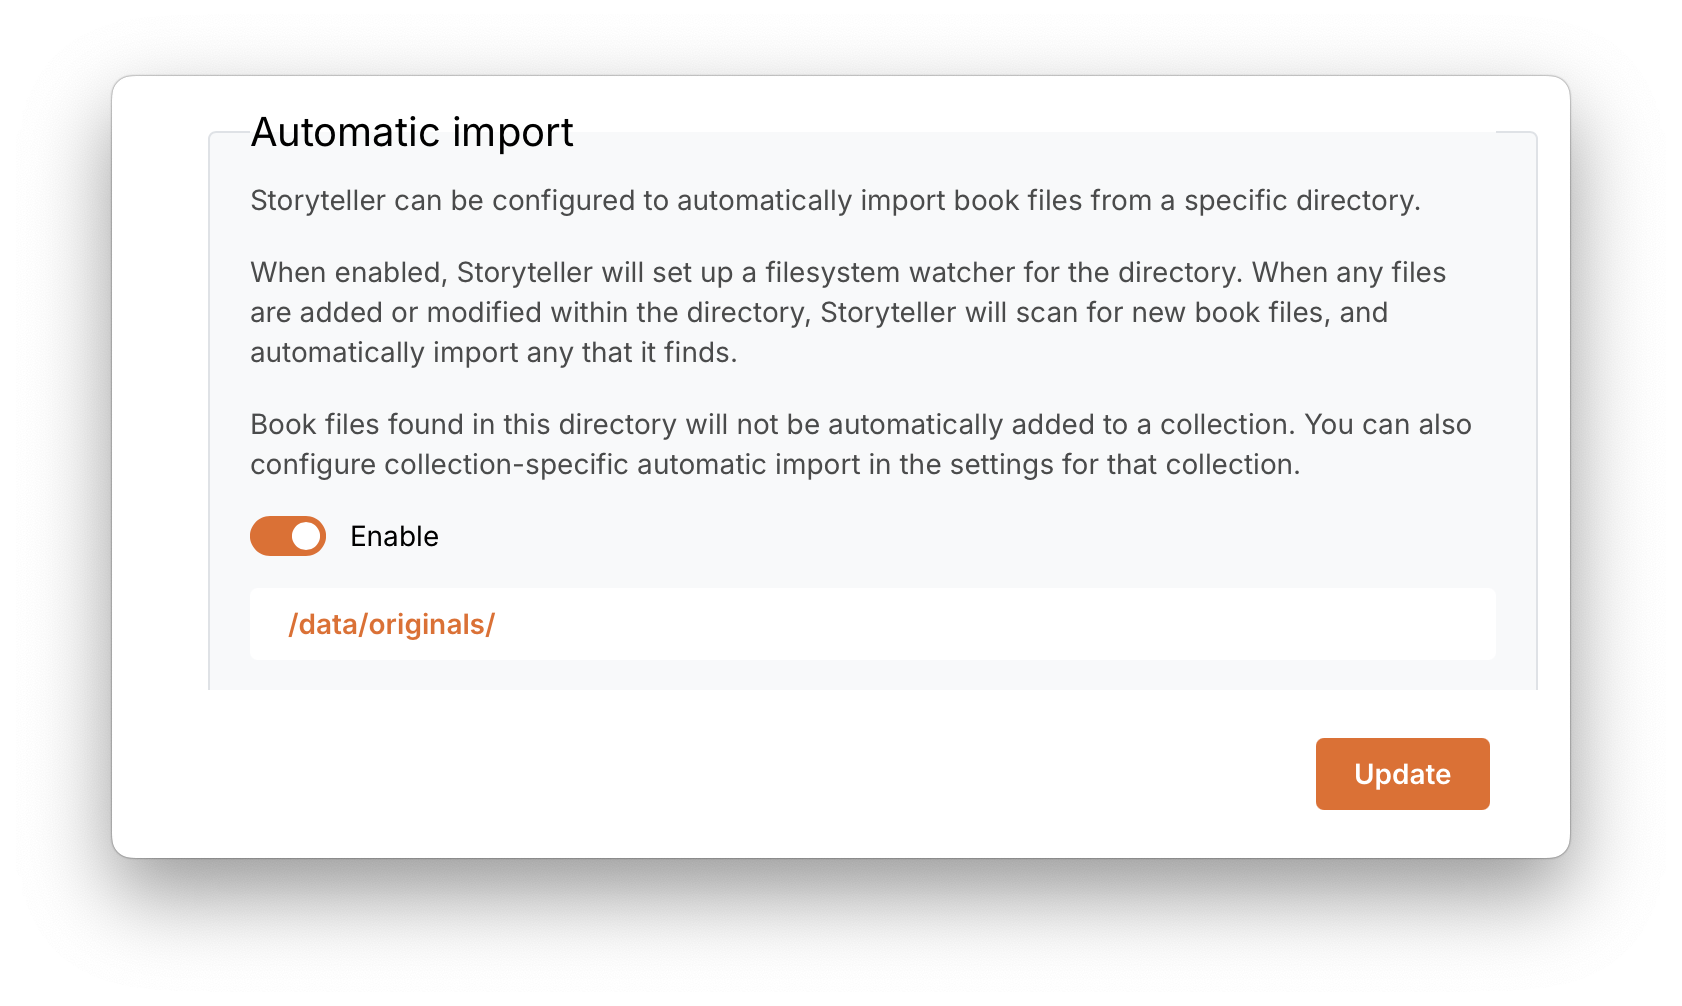
You can upload books one at a time through the web client, import them from another server or set up automatic imports. Automatic imports can be uncollected or based on particular collections. For uncollected books, the watch folder is defined here.
Be aware that uncollected books are visible to all users. Any books you do not want shared with all users should be imported or added directly into a collection.
A full discussion and instructions on how to add books to Storyteller as well as set up automatic imports into specific collections is found elsewhere in this documentation, but this setting is where you designate the watch folder for uncollected books.
Readaloud Location
When you manually or automatically import files into Storyteller from your
server, rather than uploading them, Storyteller leaves your files in place. When
Storyteller generates a readaloud file for books imported in this way, by
default it will place the readaloud EPUB file next to the input EPUB file, with
the suffix (readaloud).
If we generated a readaloud for “Willy Wonka”, in the above example, Storyteller
would create a new file at /library/Willy Wonka/Willy Wonka (readaloud).epub.
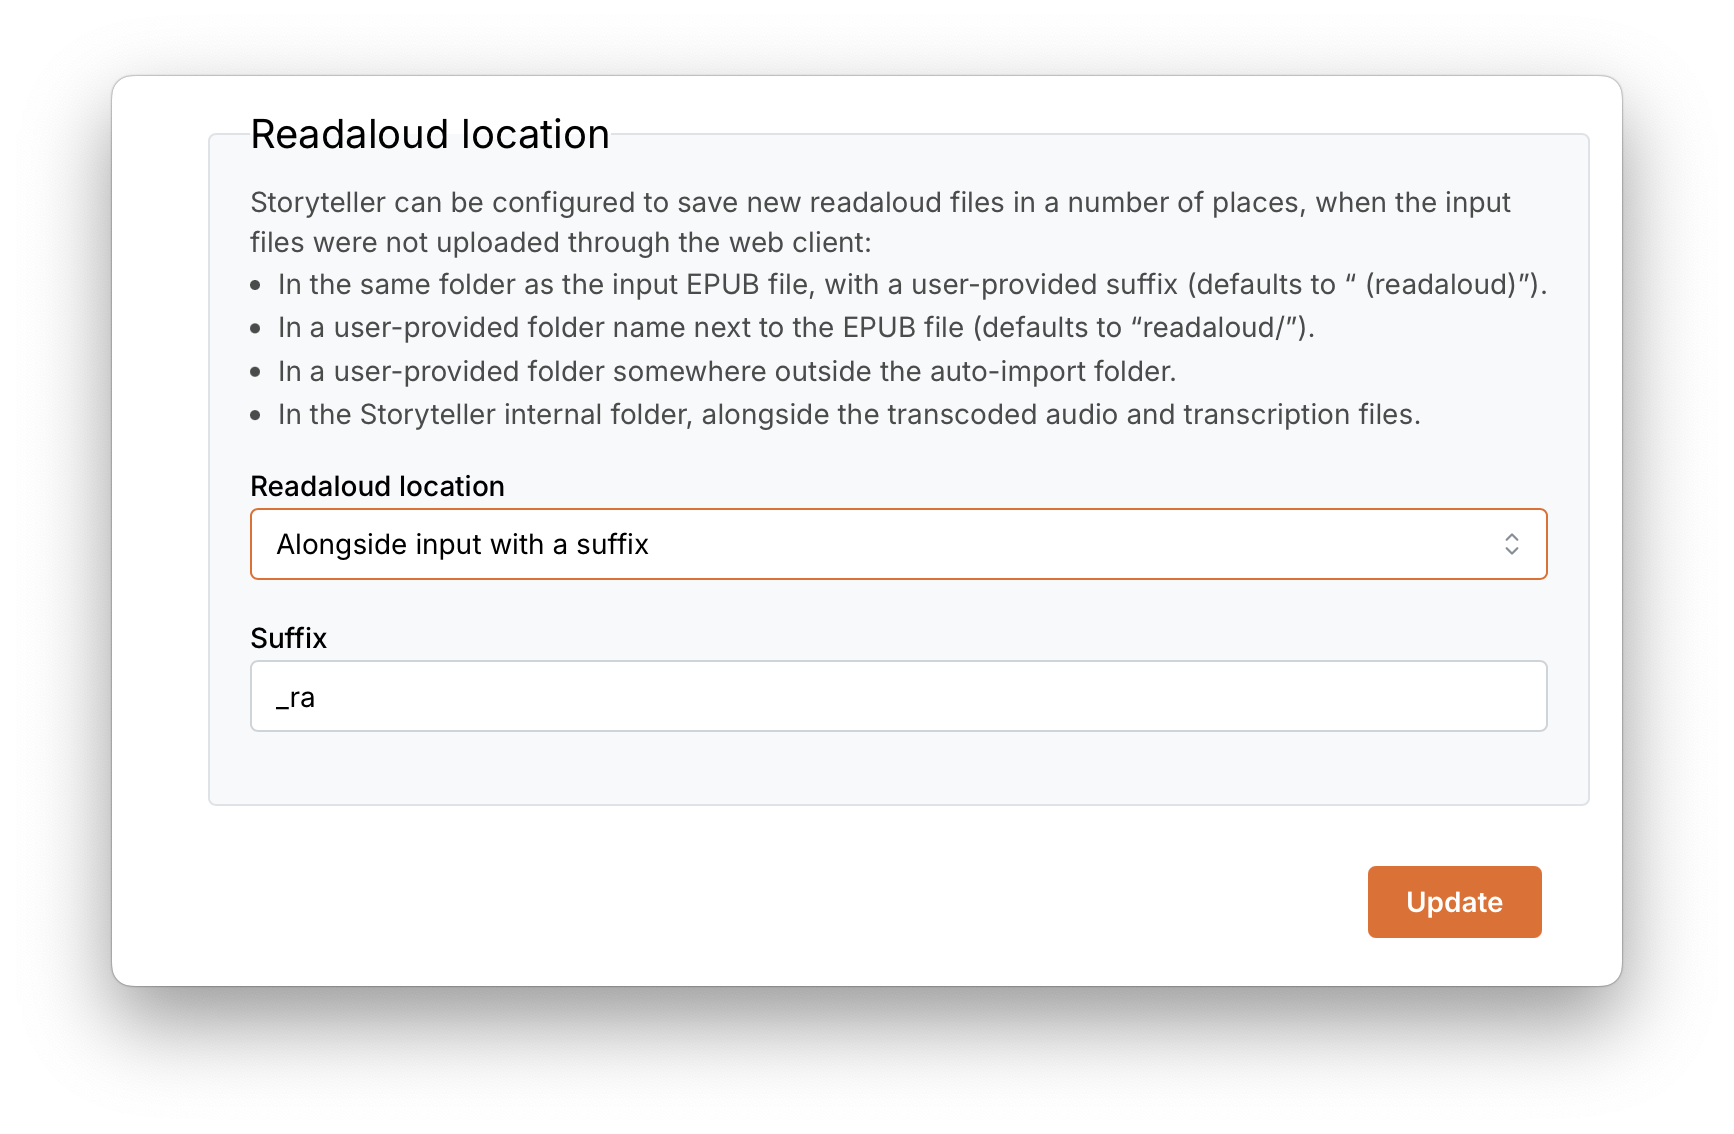
This behavior can be configured in the Storyteller settings if desired. The options are:
- In the same folder as the input EPUB file, with a user-provided suffix
(defaults to
(readaloud)). - In a user-provided folder name next to the EPUB file (defaults to
readaloud/). - In a user-provided folder somewhere outside the auto-import folder.
- In the Storyteller internal folder, alongside the transcoded audio and transcription files.
Audio Settings
Max track length
Storyteller can automatically split tracks longer than a given length. This will reduce the memory consumption of the transcription step. The default is 2 hours, but shorter values will result in less memory usage during transcription.
Storyteller will use silence detection to attempt to split tracks between sentences, so as to not interfere with transcription. In practice, this works very well!
Transcoding
Audio files are "encoded", usually with some amount of compression. Different encoders will have different effects on audio — some are better for music, others better for speech, etc. Storyteller supports three audio codecs: MP3, AAC (typically used in MP4/M4A/M4B files), and OPUS. OPUS is particularly efficient at compressing human speech, and can result in significantly smaller output files.
As part of its audio pre-processing step, Storyteller can transcode your audio files using any of these codecs. If you'd like to enable transcoding, go to the Settings page of your Storyteller instance and set "Preferred audio codec". Depending on your choice, you may be presented with a choice of bitrate as well. Generally speaking, the defaults are reasonable, lower numbers mean lower quality (and smaller files), and higher numbers mean higher quality (and larger files).
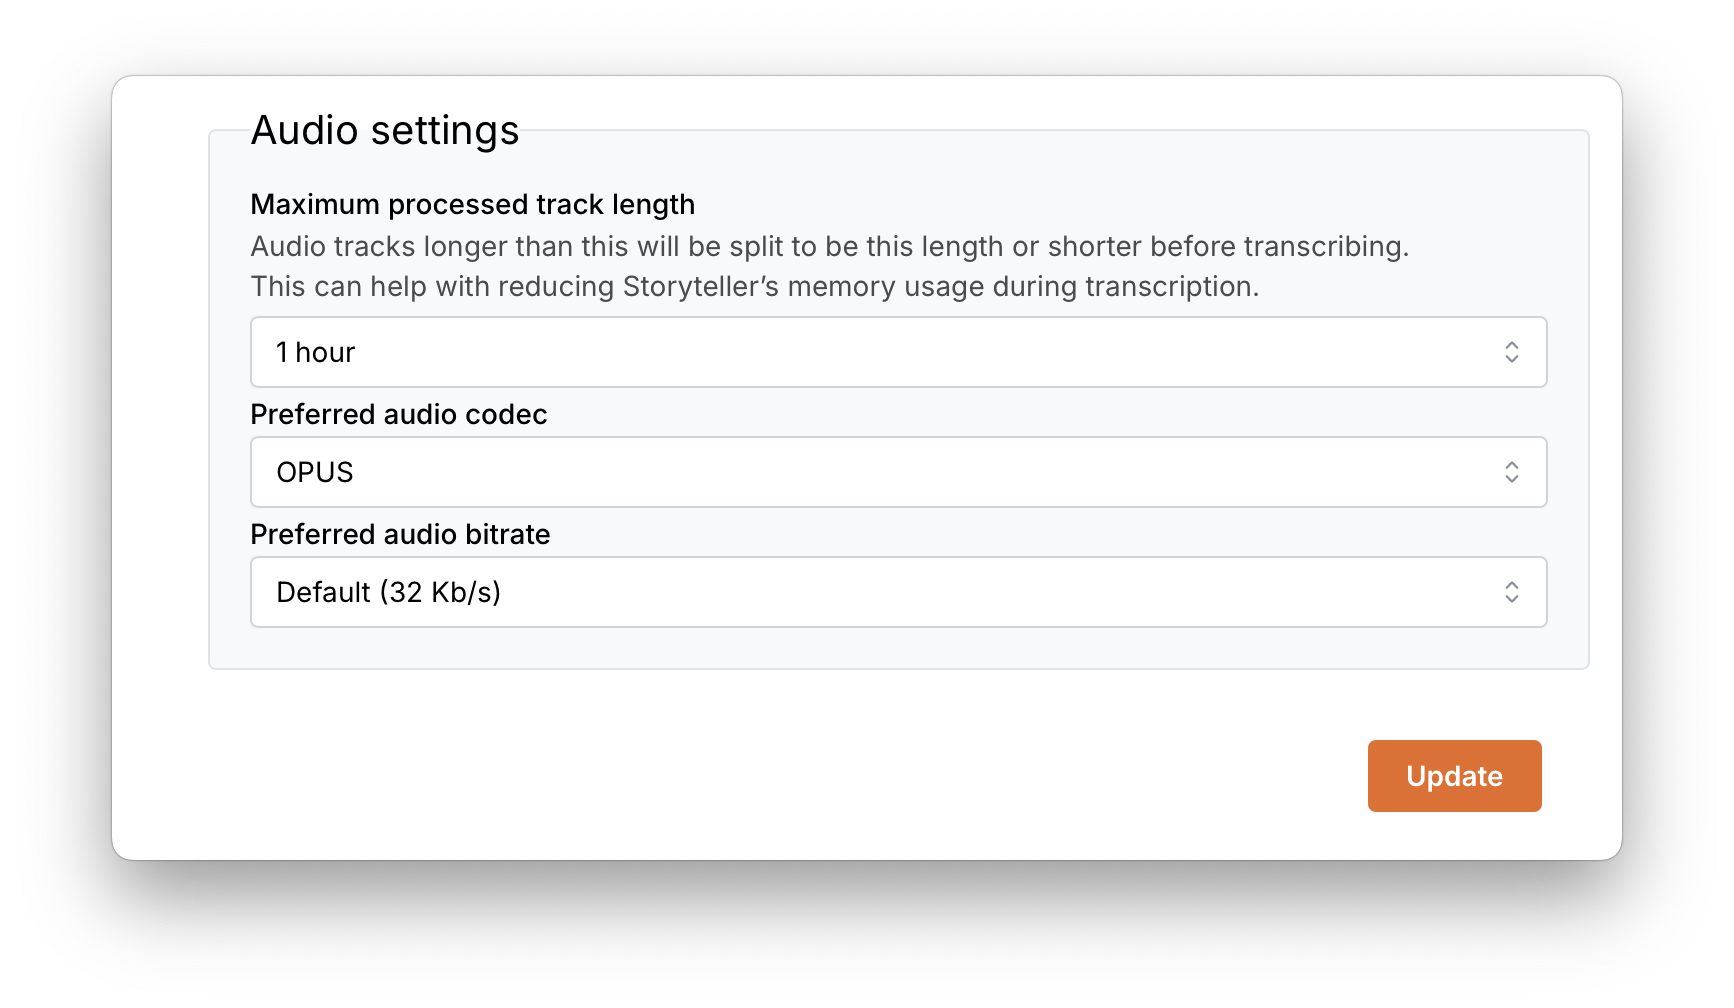
Many Storyteller users have found that the OPUS codec and a bit rate of 32 kb/s provides a good balance of audio fidelity to file size.
Please note that enabling transcoding will significantly slow down the pre-processing step! You can improve transcoding performance by increasing the maximum simultaneous transcodes in the parallelization settings — the ideal number is the number of cores that you have available for Storyteller to use, minus 1.
Transcription Settings
As part of the alignment process, Storyteller attempts to transcribe the audiobook narration to text (visit How it works! for more details.) This is by far the most resource-intensive phase of the alignment process.
Transcribing locally
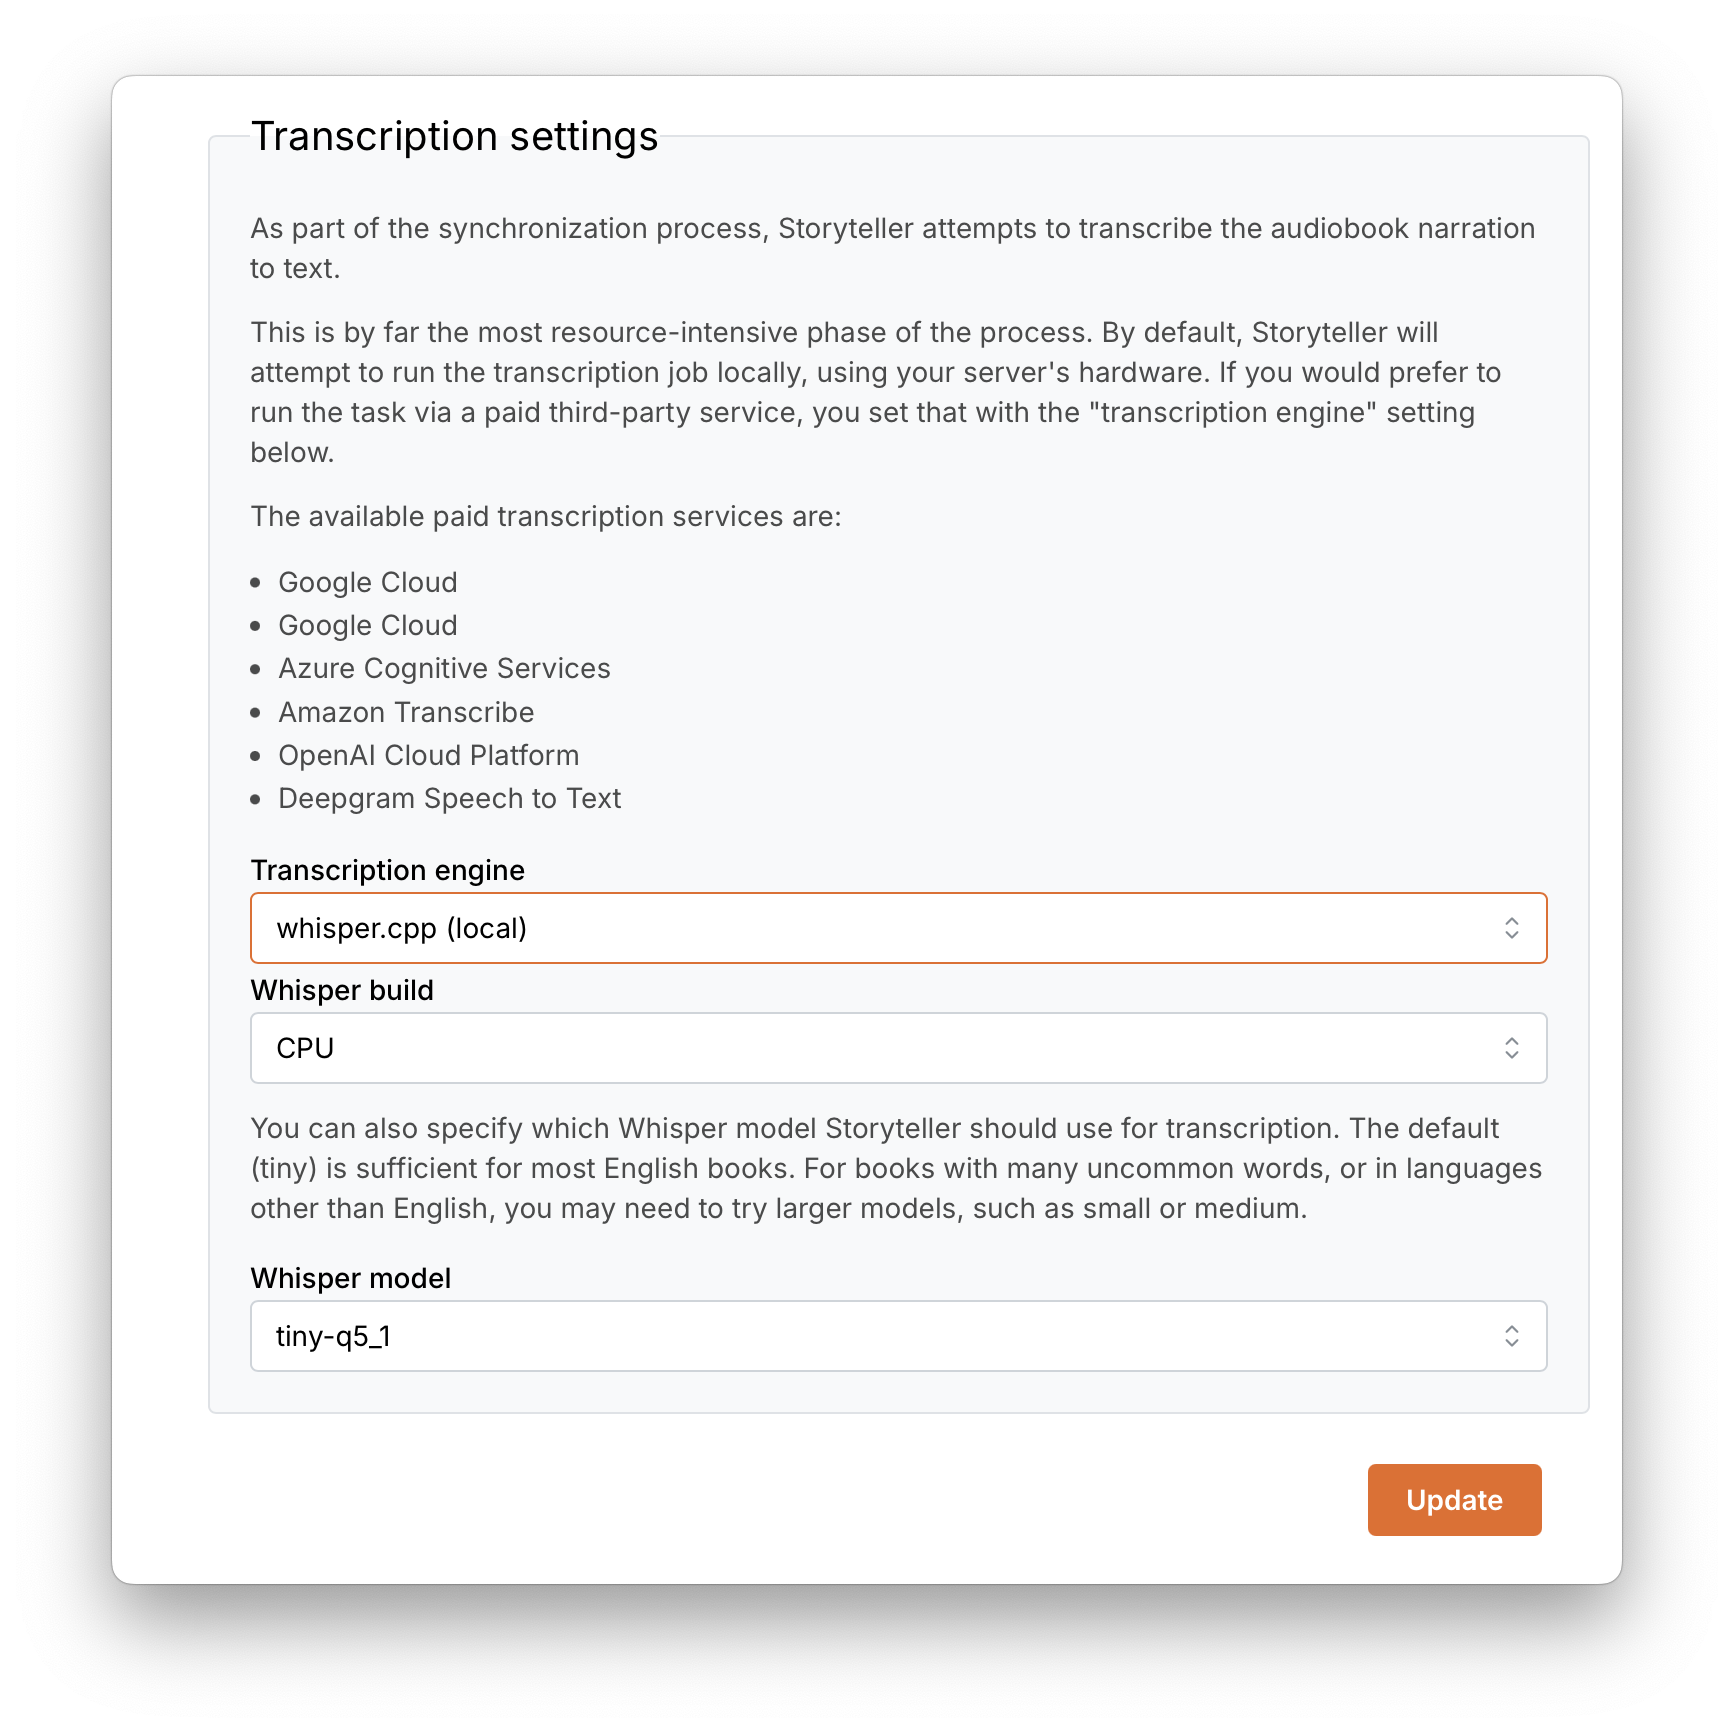
The default transcription engine is whisper.cpp, which runs the open source whisper.cpp project locally. Storyteller clones and builds whisper.cpp at runtime. This means that it may take several minutes before your first transcription task actually begins, while whisper.cpp is being built.
You can specify which Whisper model Storyteller should use for transcription.
The default (tiny) is sufficient for most English books. For books with many
uncommon words, or in languages other than English, you may need to try larger
models, such as small or medium.
 If your hardware
allows, you can accelerate transcription by harnessing your GPU. The available
acceleration frameworks are:
If your hardware
allows, you can accelerate transcription by harnessing your GPU. The available
acceleration frameworks are:
NVIDIA GPUs
- cuBLAS-11.8. This is a CUDA-based BLAS library. It requires a CUDA-enabled NVIDIA GPU. Specifically, this is for GPUs with CUDA 11; use cuBLAS-12.4 if you are running CUDA 12
- cuBLAS-12.4. Same as cuBLAS-11.8, but for CUDA 12.
AMD GPUs:
- hipBLAS. This is an AMD-based BLAS library. It requires an AMD GPU that supports the ROCm computation framework, and for the AMD GPU drivers to be installed on the host
Additionally, we have a community guide for how to use CoreML for hardware-accelerated transcription on macOS.
Transcribing via paid third-party service
By default, Storyteller will attempt to run the transcription job locally, using your server's hardware. If you prefer to run the task via a paid third-party service, you set that with the "transcription engine" The available paid transcription services are:
- Google Cloud Speech-to-text AI
- Azure Cognitive Services
- Amazon Transcribe
- OpenAI Cloud Platform
- DeepGram Speech to Text
To use any of these services, you must first set up an account with the service provider, and obtain any relevant API keys and configuration. You can then configure Storyteller to use your account for transcription.
Parellelization Settings
These settings will speed up the time needed to transcode and/or transcribe your audiobooks.
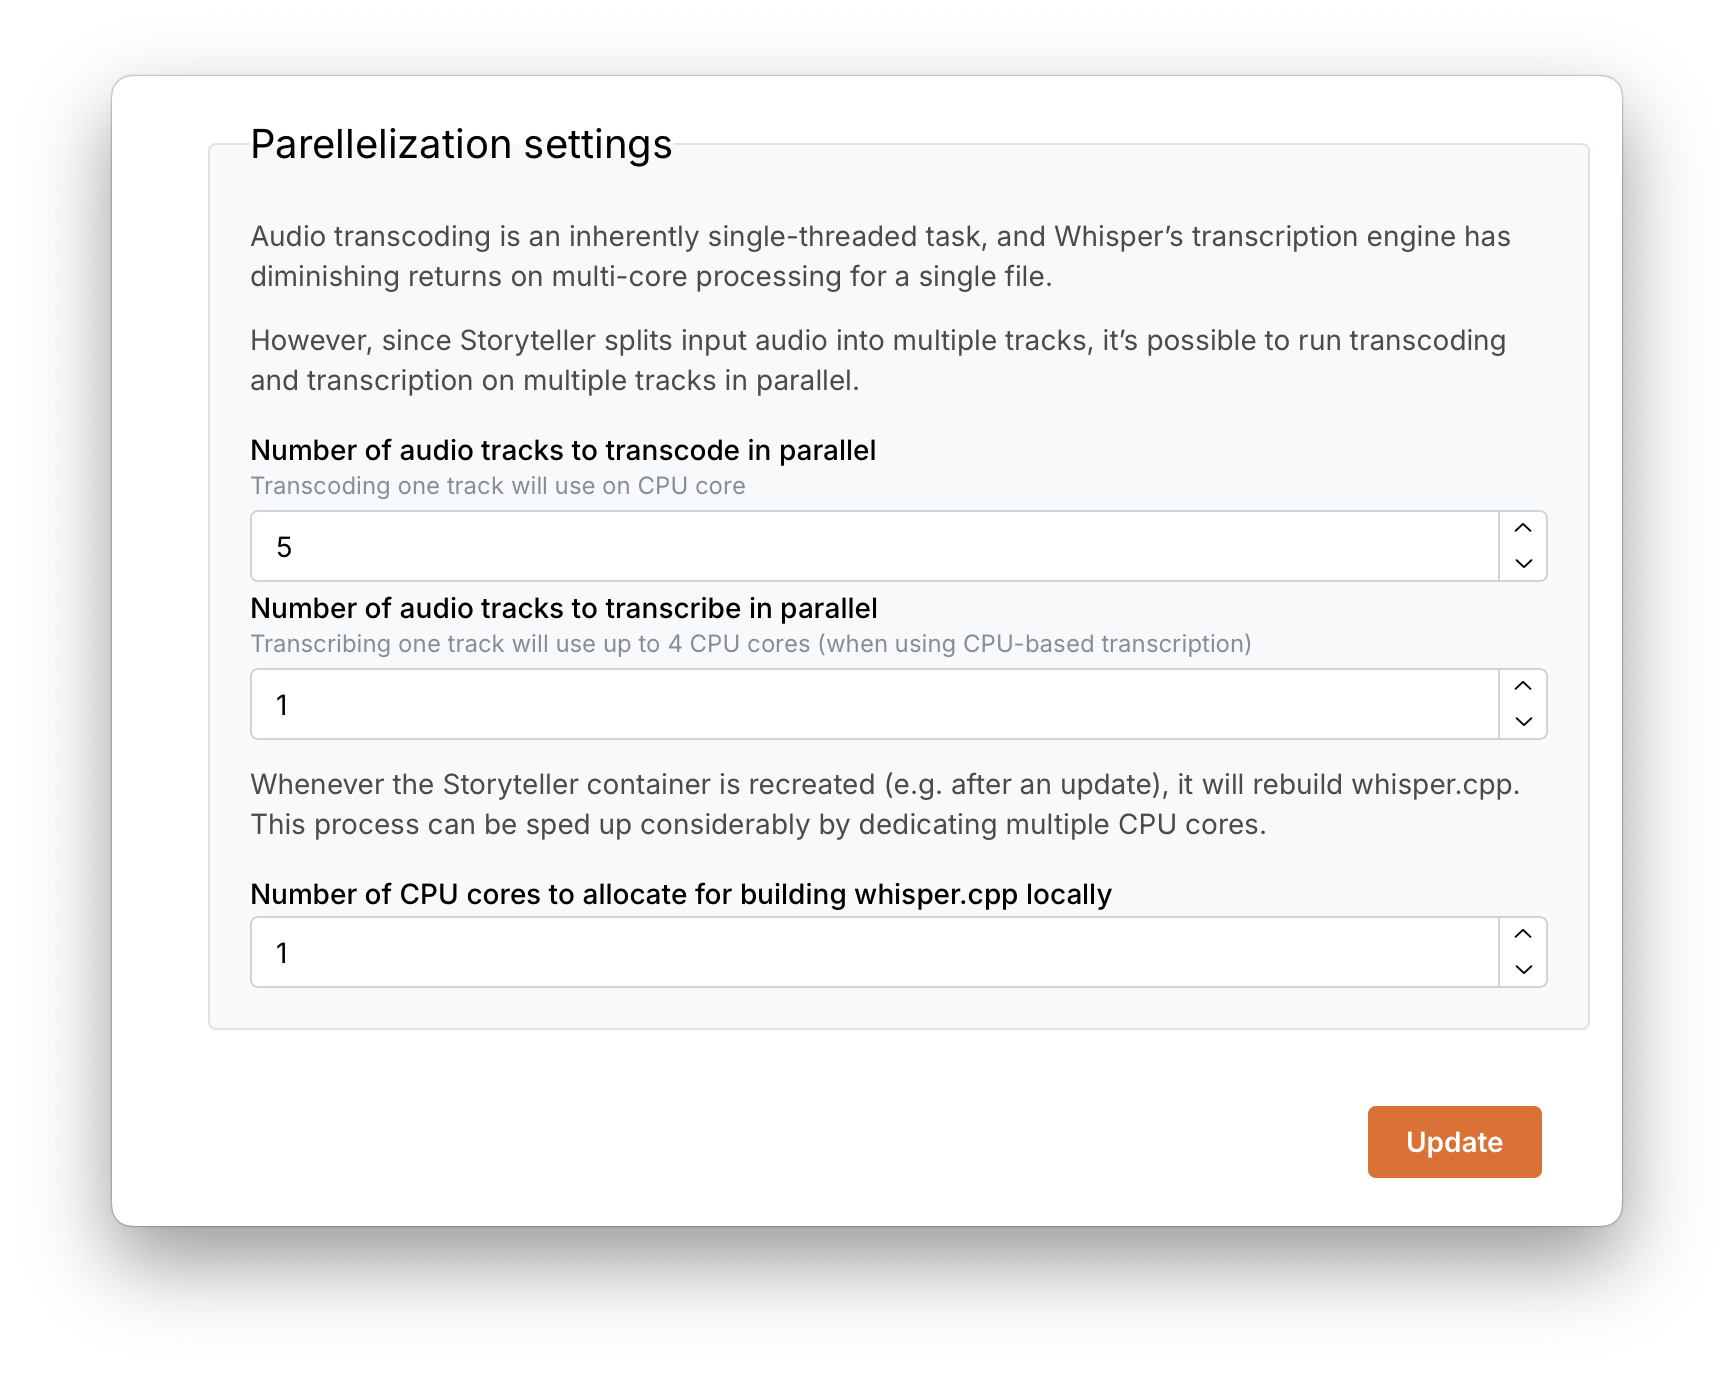
What is the difference between transcoding and transcribing?
Transcoding is the process by which an audio file is reprocessed and saved as another type of audio file. In Storyteller, you have the ability to chose alternate codecs and bitrates from your original files. This can lead to markedly smaller files without much lose of fidelity.
Transcribing is the process by which all of the spoken words in the audio file are turned into a time-stamped text file which is then used in the alignment phase of the process.
Authentication Providers
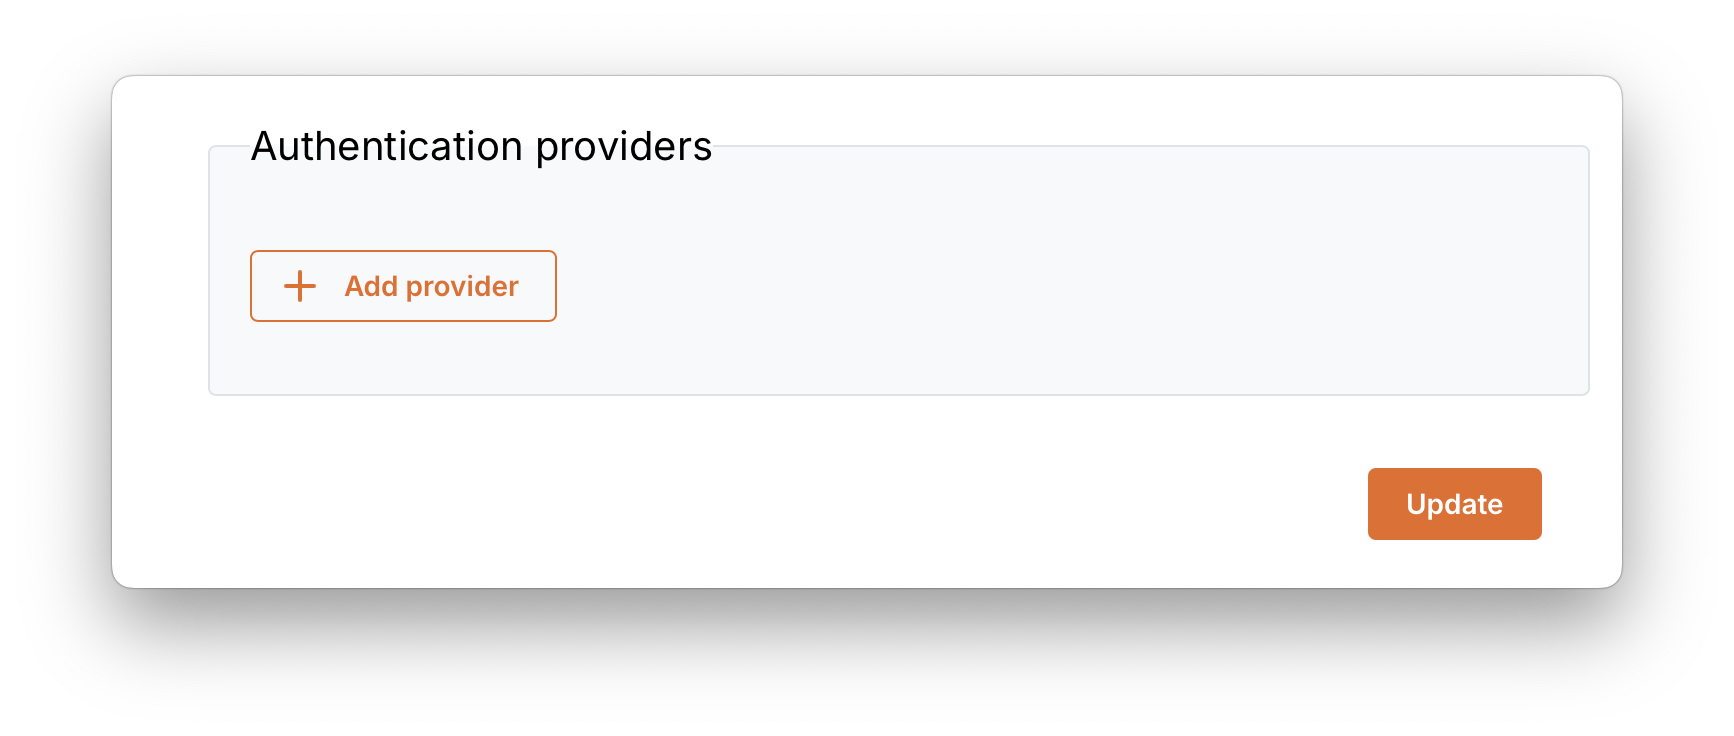
If you’d like to set up an OAuth provider for Storyteller, you can do so here. If you don’t have any idea what OAuth or OIDC are, you can just skip this section!
Setting the AUTH_URL environment variable
In order to use OAuth, you must set the AUTH_URL environment variable in
your container. It should be set to your Storyteller server’s origin (scheme +
hostname), with the path /api/v2/auth. So if you access your Storyteller
instance at https://storyteller.example.com, then you should set AUTH_URL to
https://storyteller.example.com/api/v2/auth.
Configuring a provider
Storyteller supports a large number of built-in providers, like Auth0, Keycloak, etc. Since you’re self-hosting, though, you'll likely want to set up a custom provider with a self-hosted auth service like Authelia.
Follow the guidelines for your chosen provider to obtain a client ID and client secret. Set the callback URL in your provider’s settings to the one provided by the Storyteller settings.
:::info Callback URLs
Your provider’s callback URL is tied to the provider’s name in the Storyteller settings. If you change the provider’s name, don’t forget to update the callback URL in the provider’s settings!
:::
Automatic account creation
By default, users must be invited before they can sign in with OAuth. If you'd like to allow users to create accounts automatically when they sign in with a custom OIDC provider, enable the "Allow registration" option for that provider.
New users created this way will be given basic permissions (read, download, and list books).
Group-based permissions
If your OIDC provider includes a groups claim in its userinfo response, you
can map those groups to specific permissions. When group permissions are
configured:
- Users in a configured group will receive the permissions mapped to that group
- Users in multiple groups will receive the combined permissions from all matching groups
- Users not in any configured group will be denied access
This allows you to control access and permissions based on your identity provider's group membership.
Disabling password login
Once you have configured an authentication provider with a group that grants the "Change server settings" permission, you can disable password-based login entirely. This will hide the username/password form on the login page and prevent email-based invites.
:::warning OPDS Compatibility
Most OPDS clients do not support OAuth authentication. If you rely on OPDS access to your library, you should keep password login enabled.
:::
Linking accounts
Once you’ve configured a provider, you can link your existing account to your profile from your provider. Navigate to the Account page on your Storyteller instance, and click the “Link to <Your provider>” button. Follow the OAuth flow and sign in with your provider. You will be redirected back to Storyteller, and now you'll be able to sign in with OAuth in the future!
Signing in with OAuth
After one or more OAuth/OIDC providers have been configured, the log in page will display a log in option for each one. Clicking one of the buttons will initiate the log in flow for that provider. You will still be able to log in with your username and password if needed.
Upload Settings
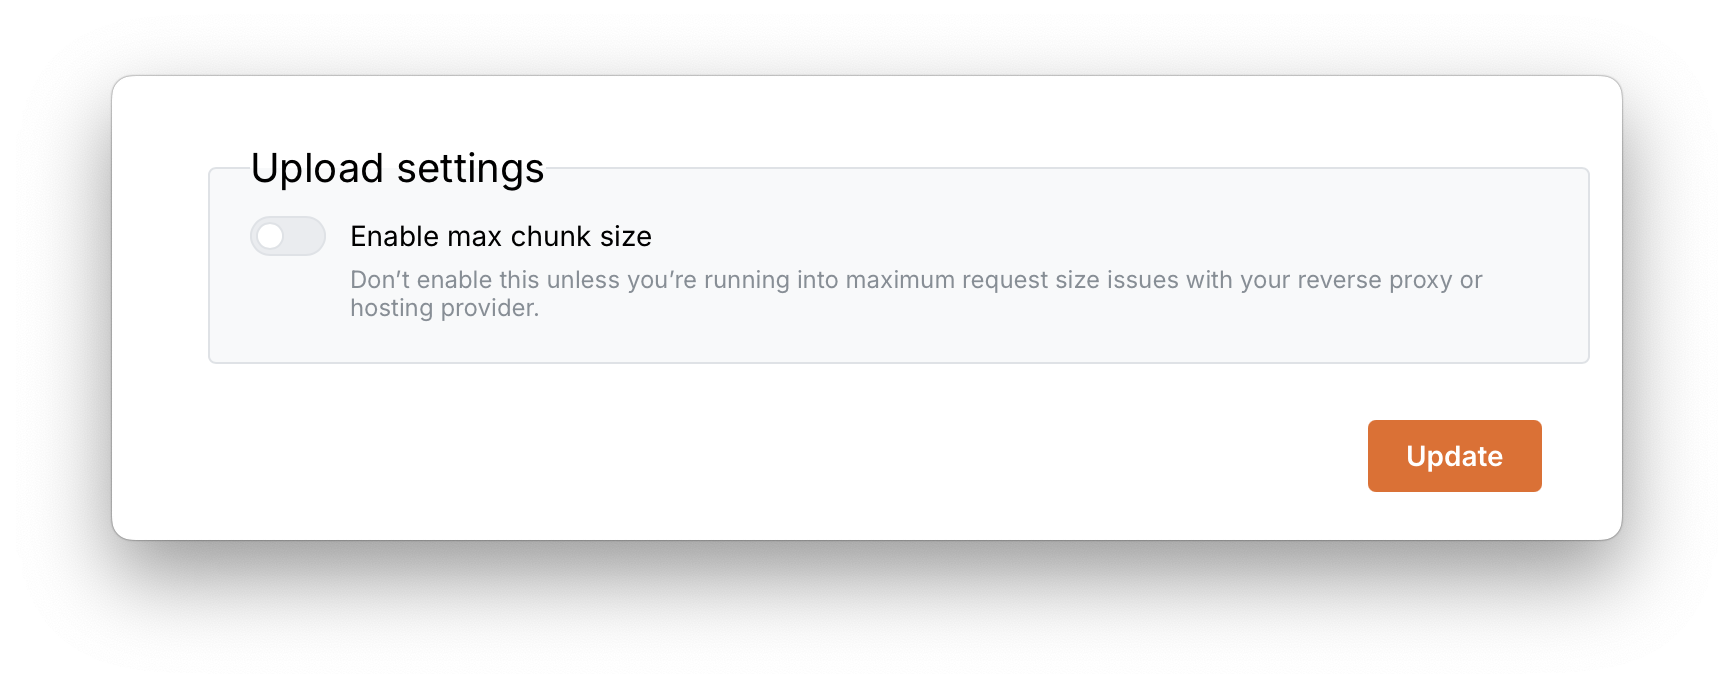
You can skip this setting unless you are using a reverse proxy or hosting provider and are seeing maximum request size errors.
Email Settings
Your users can receive unique invitation links to set up their accounts! To do so, you must connect Storyteller to an SMTP server, allowing Storyteller to send emails on your behalf. To do so, you will need to:
- provide the correct email settings including: host, port, credentials, ‘from’ email address, username and password.
- set the library settings as outlined above.
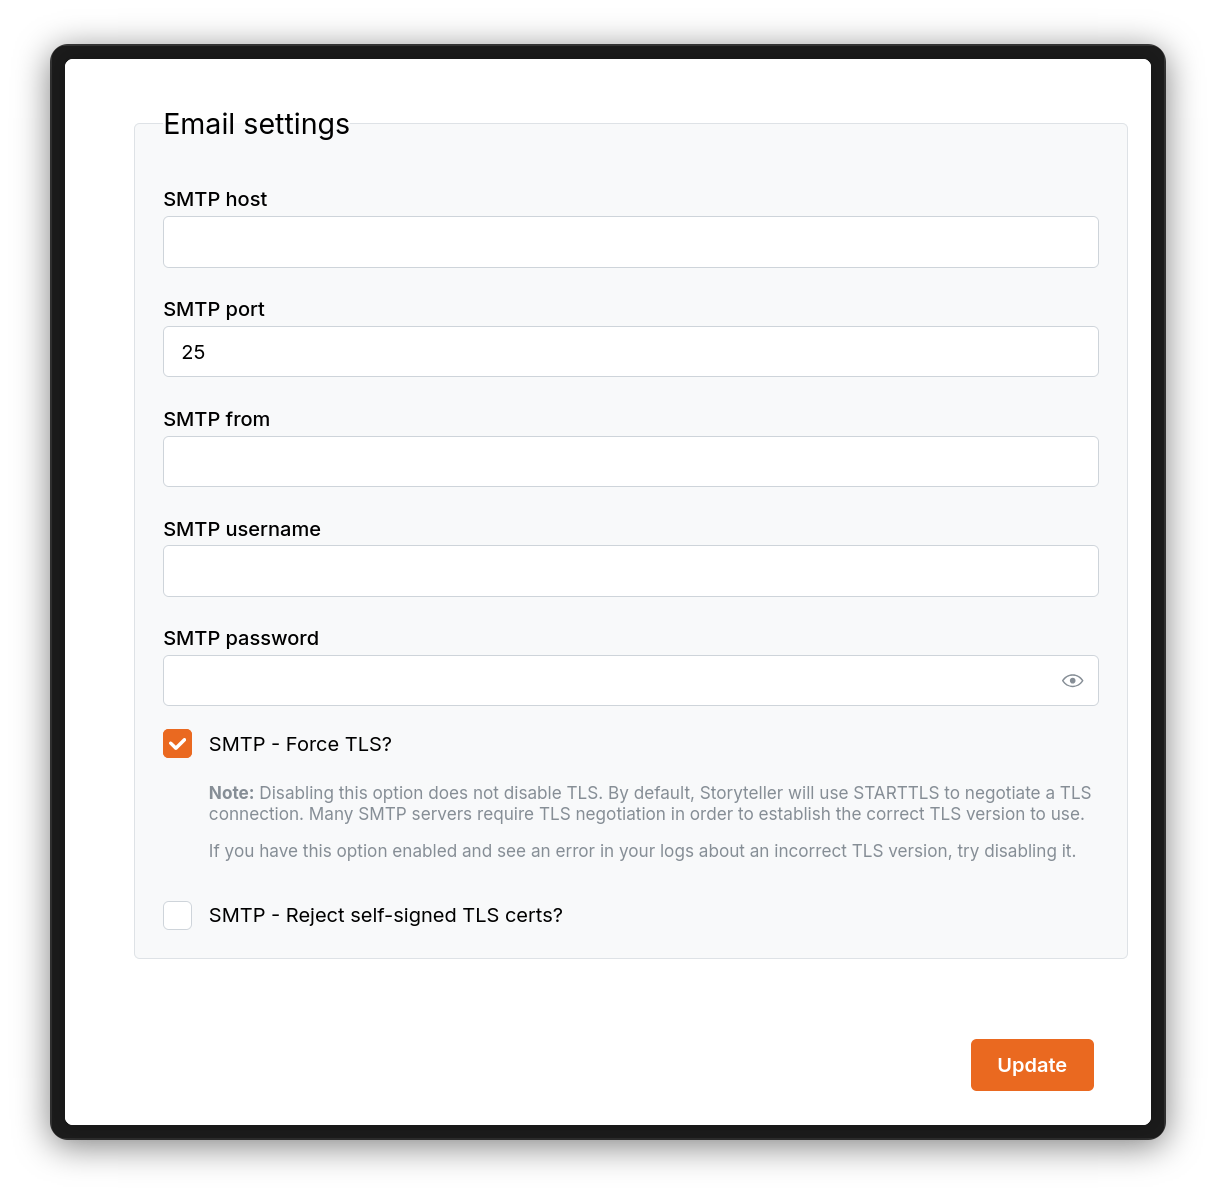
If your email provider supports SMTP, you can simply follow their instructions for configuring email in Storyteller. Otherwise, you can use a free SMTP relay service, such as Sendgrid.
Setting up Gmail or Proton Mail
Gmail
You can configure Storyteller to send email through your Gmail account, via the Gmail SMTP server.
- Set the SMTP host to
smtp.gmail.com - Set the SMTP port to
587 - Set the SMTP from to your full email address
- Set the SMTP username to your full email address
- Set the SMTP password to an app password
- Do not check SMTP - Force TLS — port 587 on Google's SMTP server supports STARTTLS
- Do not check SMTP - Reject self-signed TLS certs
Proton Mail
You can configure Storyteller to send email through your Proton Mail account, via the Proton SMTP server.
Follow the instructions here to generate an SMTP authentication token.
- Set the SMTP host to
smtp.protonmail.ch - Set the SMTP port to
587 - Set the SMTP from to your full email address
- Set the SMTP username to your full email address
- Set the SMTP password to your SMTP token, from the Proton docs page linked above.
- Do not check SMTP - Force TLS — port 587 on Proton's SMTP server supports STARTTLS
- Do not check SMTP - Reject self-signed TLS certs